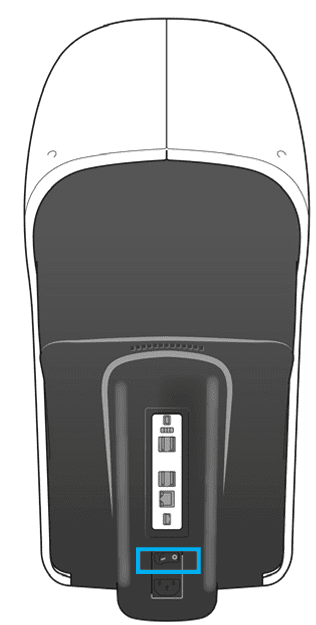
Press the ON/OFF switch on the back of the compact refraction unit.

- Press the [Clear] button on the console to switch on the system.
- Press and hold the ON/OFF switch [Clear] on the console. › The screen turns black.
The [Clear] button is a 3 function button.
- Turn on the unit. (Press and hold)
- Clear data. (One Sec. Press)
- Turn off the unit. (Press and hold)
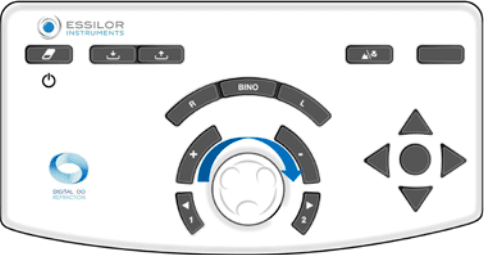
1 Touch screen
2 Keys [Import/Export]
3 Key [Clear]
4 Keys [R/Bino/L]
5Keys [+/-]
6 Keys [Position 1/Position 2]

7 Key [Bluetouch]
8 Keys [Far vision/Near vision] Not used
9 Acuity navigation keys
10 Central button
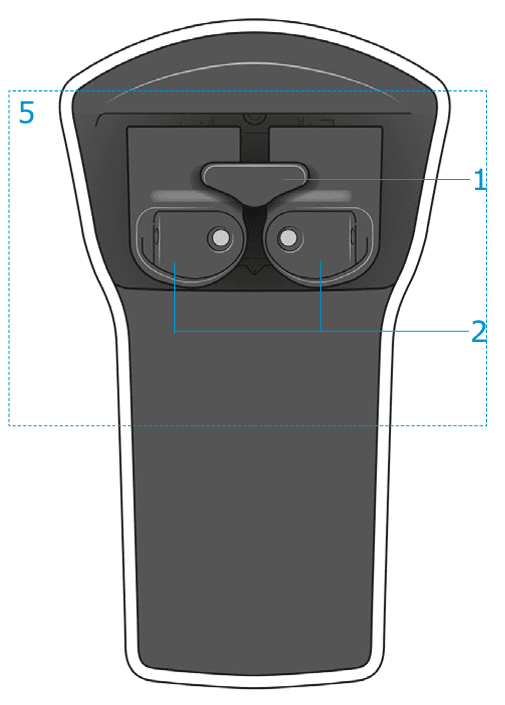
1 Forehead rest cover* and forehead rest
2 Movable face shields
5 Refraction head
It is advisable to adjust:
 The forehead position and the Vertex distance.
 Monocular or binocular pupillary alignment (distance).
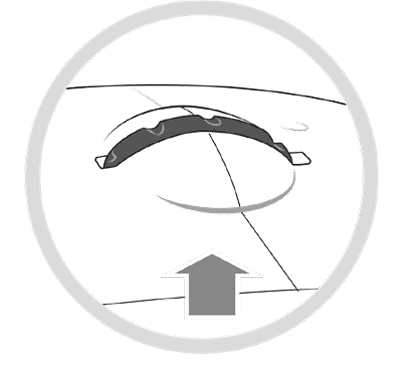
The control knob is used to adjust the forehead rest position and then, to modify the Vertex distance.

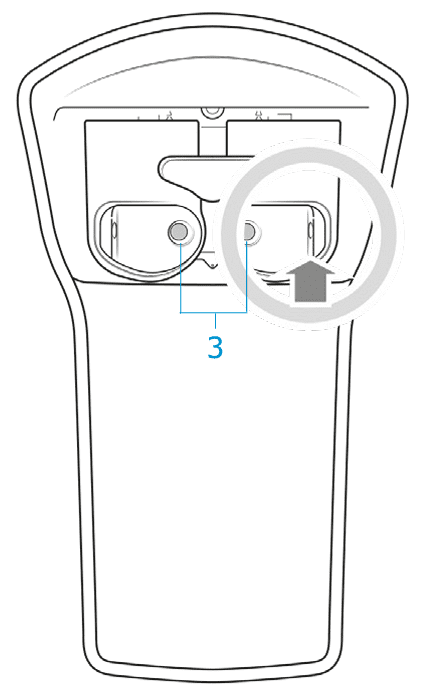
3 Patient side observation windows (SCV module)
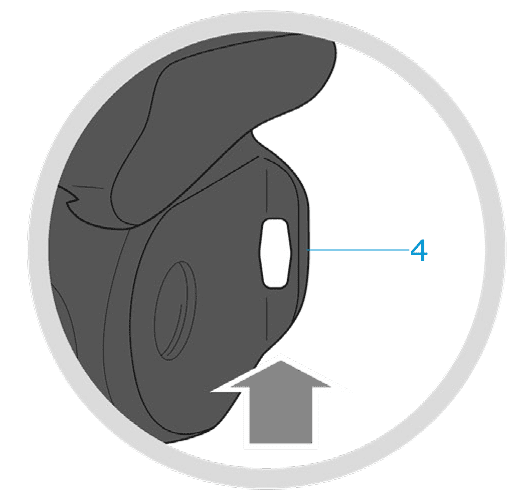
4 Measurement cameras for Vertex distance

Find the test chart in the list by categories. Refraction far vision, dissociation, other test and refraction in near vision

Create your favorites list of charts.
Give a name and sequence.
Create your rules by OD, OS & OU.

Take full the potential of Essilor's AI.
Fast and secure Smart and Manual Protocols.
Sphere Power
1) Select SPH for OU, OD or OS.
2) Select the step power.
3) Press the (+) or (-) button on the keyboard.
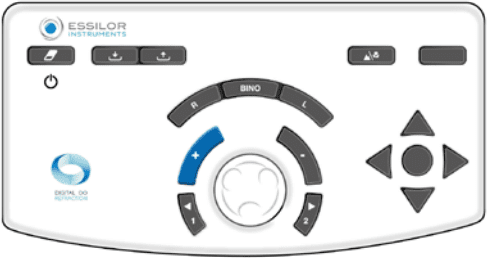
4) Spin the dial towards your left or right.
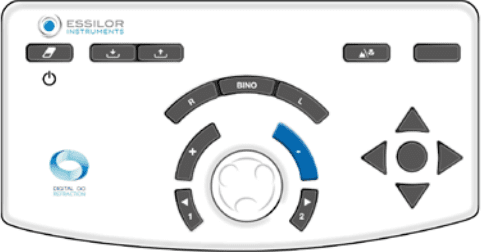
Cylinder Power
1) Select CLY for OU, OD or OS.
2) Select the step power.
3) Press the (+) or (-) button on the keyboard.
4) Spin the dial towards your left or right.
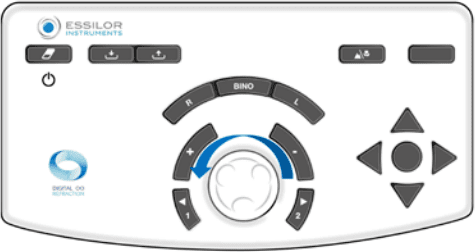
Axis
1) Select AX for OU, OD or OS.
2) Select the step.
3) Press the (+) or (-) button on the keyboard.
4) Spin the dial towards your left or right.
